


This article is intended to be a step-by-step guide on how to install Raspberry Pi OS on Raspberry Pi 4 (or earlier versions) through the microSD card.
[wpda_org_chart tree_id=35 theme_id=50]
Installing Raspberry Pi OS
Raspberry Pi OS is a free and open source operating system designed to run on the Raspberry Pi, a series of small, single-board computers. Raspberry Pi is known to be a versatile and affordable device, widely used in hobby projects, computer education and IoT solutions.
There are several versions of Raspberry Pi OS, formerly known as Raspbian. This name comes from the fact that this operating system is based on Debian, a branch of Linux, and is optimized to run on Raspberry Pi hardware (Raspberry Debian).
Raspberry Pi OS offers a desktop environment based on LXDE (Lightweight X11 Desktop Environment), making using Raspberry Pi more similar to a traditional desktop experience. You can also access a terminal to run text-level commands.
With Raspbian installed, you have access to a wide range of pre-installed tools and applications. You can explore the operating system, access the Raspberry Pi Store, and start developing projects using programming languages like Python.
Raspberry Pi OS is designed to be user-friendly, making setup and use accessible even to those new to single-board computers. It’s an ideal starting point for exploring the world of programming and electronics with Raspberry Pi.
Installation requirements
Raspberry Pi 4

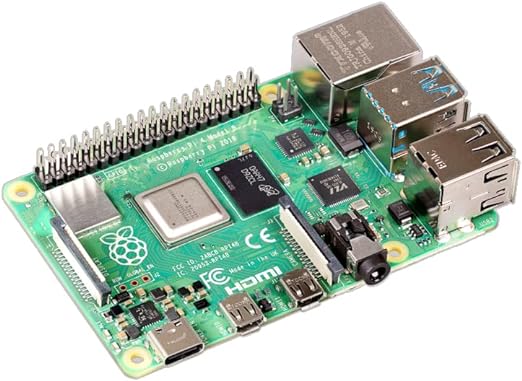
Raspberry Pi 4
See the best offer for the following models:
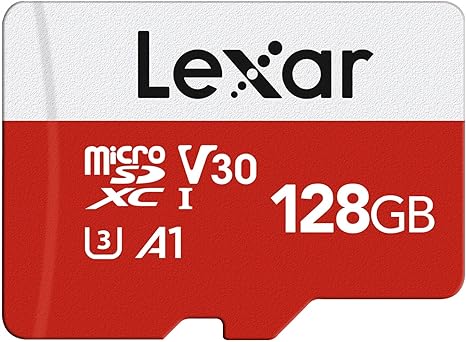
MicroSD card (at least 16GB recommended)

Suggested Product
MicroSD adapter for PC


Suggested Product
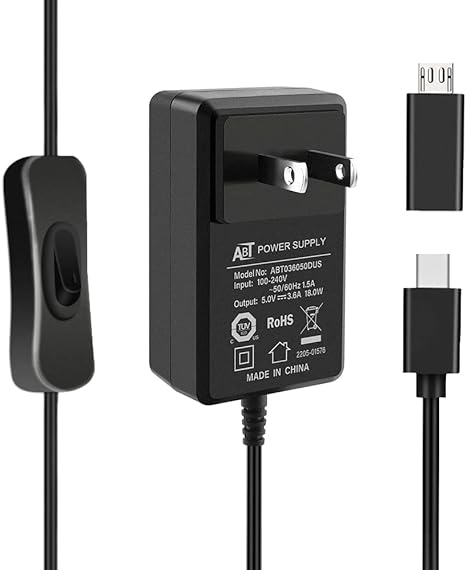
MicroUSB power supply for Raspberry Pi 4

Suggested Product
Cavo HDMI


Suggested Product
USB keyboard and mouse
Computer with microSD card reader
Internet connection (via Ethernet cable or USB Wi-Fi adapter)
Installation procedure
Preparing the microSD Card:
- Connect the microSD card to your computer using an adapter.
- Format the microSD card using a tool like SD Card Formatter (you can also do this later with Raspberry Pi Imager).
Writing Raspbian Image to microSD Card:
Download the Raspberry Pi Imager application from the official Raspberry website, which will allow you to write the Raspbian image to the microSD card. Once the application has been downloaded and started, the following screen will appear.
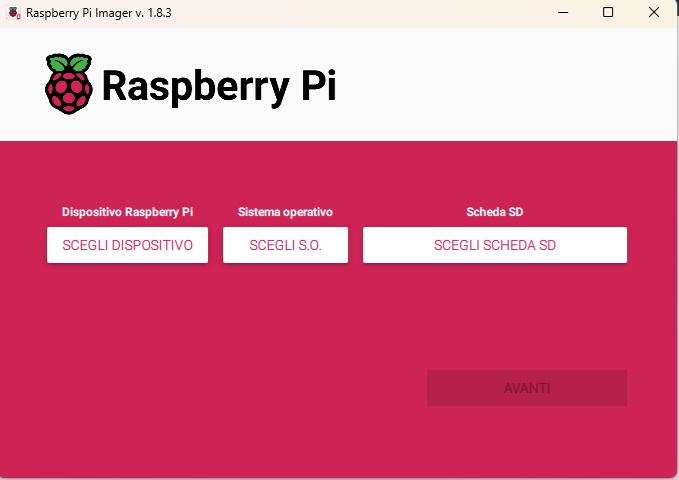
Using the three buttons, you can first select the type of device on which you want to mount the image (for example Raspberry Pi 4), then the operating system you want to install (such as Raspbian Pi OS) and finally the position of the MicroSD on your PC (for example D:). Once the three selections have been made, the Next button will be enabled. Press to start installing Raspbian on the MicroSD. The system will first check whether the MicroSD needs to be formatted, if so it will ask you to be able to format it. Then the installation will start.
Inserting the microSD Card into the Raspberry Pi:
- Remove the microSD card from the computer and insert it into the microSD card reader on the Raspberry Pi.
Connecting Peripherals:
- Connect the Raspberry Pi to a monitor using the HDMI cable.
- Connect your keyboard and mouse to the USB ports.
- Connect the microUSB power adapter.
Startup and Initial Setup:
Turning on the Raspberry Pi should launch Raspbian. After a few seconds the following screen should appear on the screen.
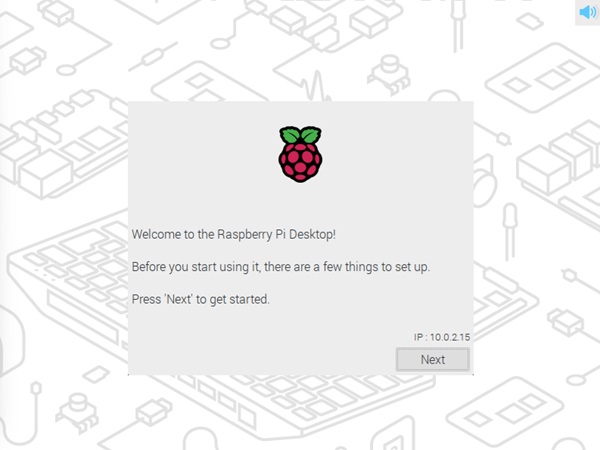
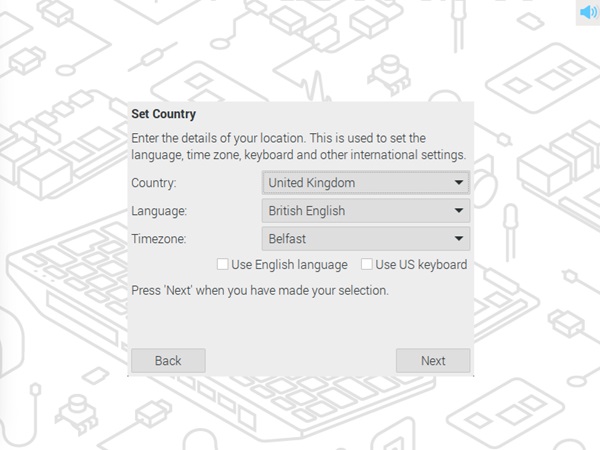
Follow the initial setup instructions, including selecting your language, changing your password, and configuring your network.
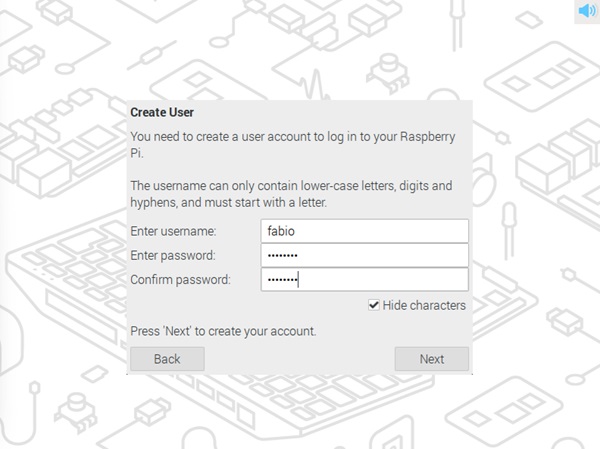
Then it will ask you to set your login credentials in Raspbian.
The Raspbian installation will continue until it finishes and then the new operating system will boot after a restart to accept the settings.
System Update:
Open terminal and run the following commands to ensure your system is up to date:
sudo apt update sudo apt upgradeReboot the Raspberry Pi with the command:
sudo rebootYou have now successfully installed Raspbian on your Raspberry Pi 4! You can start exploring the operating system and start interesting projects.