


How to use a generic USB webcam on Raspberry Pi
You often have a webcam and would like to use it on your Raspberry Pi. In this article you will see how to install a generic webcam on your Raspberry Pi and how to take photos. Everything is much simpler than you think.
The webcam
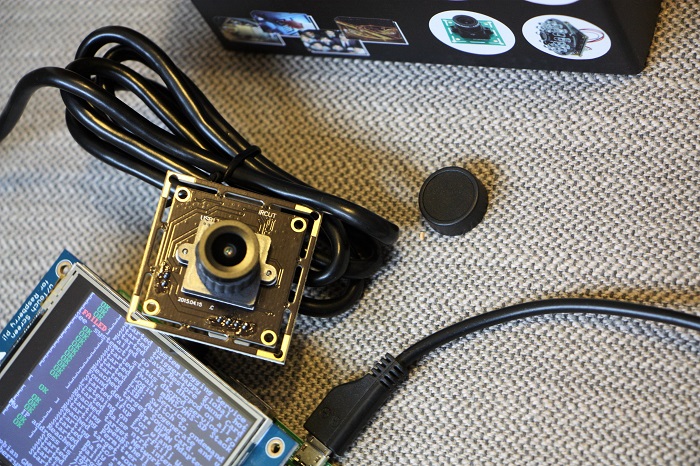
Meanwhile, the webcam should be one of those for PC, connected via USB connection. I am using this model ( ELP USB130W01MT-L21. ) and I must say that its performance is excellent especially for places with little light.
| ELP 2.1mm USB130W01MT-L21 USB Webcam per Raspberry |
fswebcam
In order to use the webcam on Raspbian, you need to install the fswebcam package. To do this, open a terminal and enter the command line:
$ sudo apt-get install fswebcam
Once the package is installed, you can take a simple image by launching the command
$ fswebcam image.jpg
Once you have launched the command you will see some writings appear on the terminal.
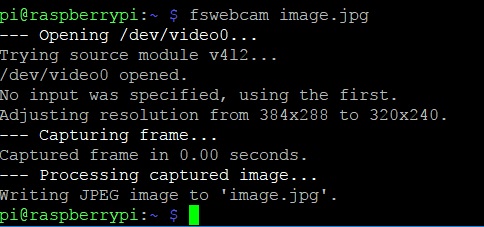
Now in the current directory there is a new image.jpg file with the image just acquired by the webcam.
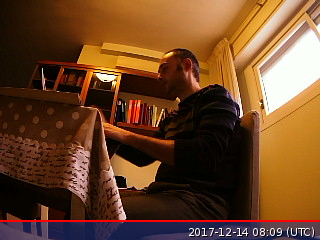
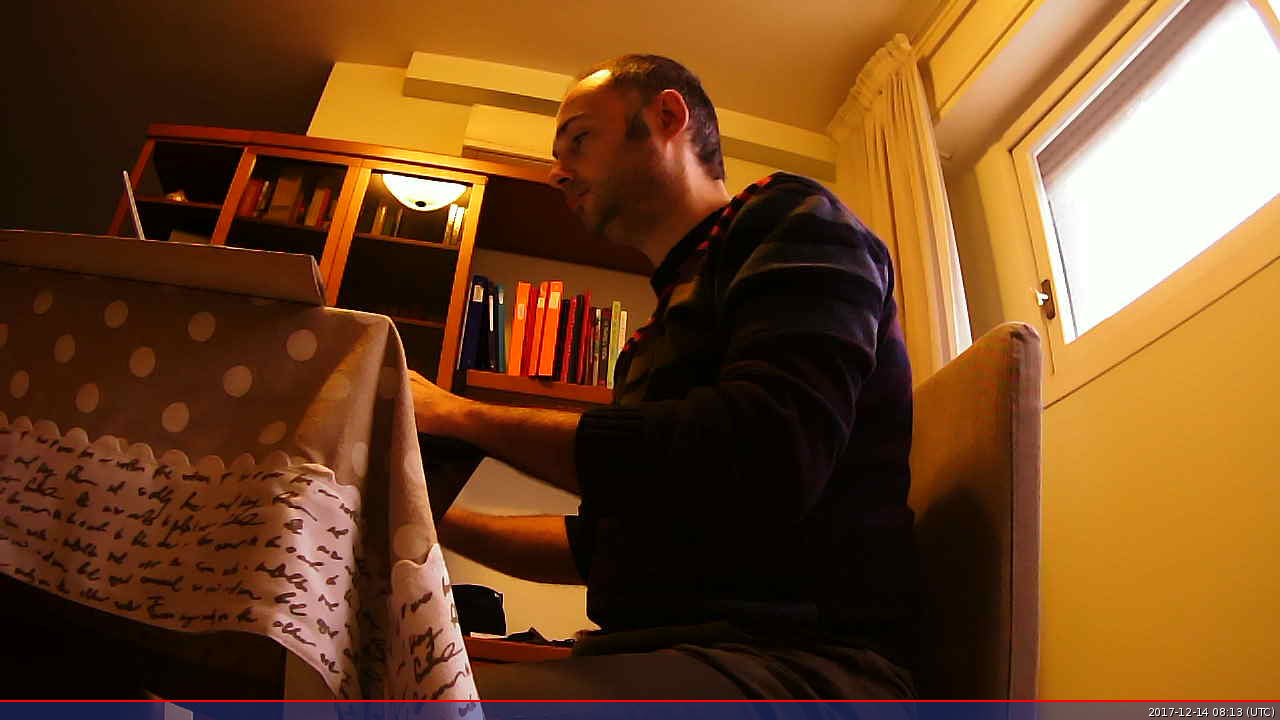
As you can see from the picture the default resolution is very small (320×240). Also at the bottom there is a bar with date and time. Let’s see how to increase the resolution.
Specify the resolution for the webcam
You have seen that the default resolution is very low. Increase it for example to 1280×720.
To do this you need to add the -r (stands for resolution) option to the fswebcam command and then specify the desired resolution level.
$ fswebcam -r 1280x720 image2.jpg
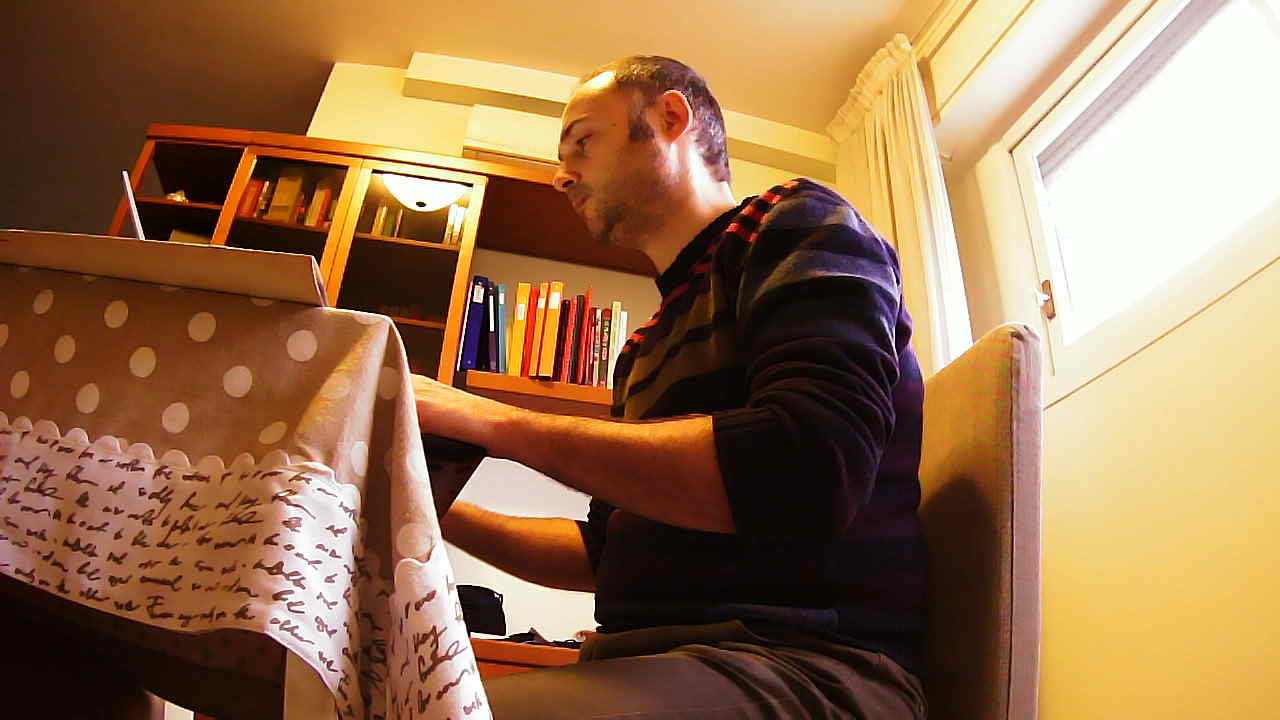
Now if you go to check the image the resolution is the one you have chosen.
Remove the banner
Another default aspect that you are likely to want to delete is the blue banner at the bottom of the photo.
To delete it, it is simple to insert the –no-banner option.
$ fswebcam -r 1280x720 --no-banner image.jpg
Now the scanned image no longer contains the banner at the bottom.
[:]